Hannah Overman Koch

Wednesday, April 24, 2013

Handmade Mixed Media Note Cards Part Two


The final part of making my mixed media note cards begins with...


My prints that I created by doing this in part one.


I am using a type of paper that takes watercolor pretty well.  
It's about a 60-70 lb paper.

With my print card ready, I can now begin to add watercolor paints.

I have a variety of watercolor paints that I use.
I enjoy trying to come up with unique color combinations.


Sometimes I start by painting the center image, 
other times I begin painting the other designs first.


And I continue this process until I am satisfied with the results.

There will be times I mix the colors, for example..
I may use pink then add a touch of red-orange inside the pink.


And before I know it...

The watercolor process is done!

**Brushes - 
I use a variety of brushes from the one pictured above to brushes that can be used for other types of paints like acrylics. 


With my painted print cards dry,

I now move to the sewing machine!

I line up (really good eyeballing) to my card blanks
and sew a simple "straight" line.


When I get to the corner, I lift the foot and turn the card.
I then put the foot back down and begin sewing again
until I reach the next corner.


I carefully go around the whole card.

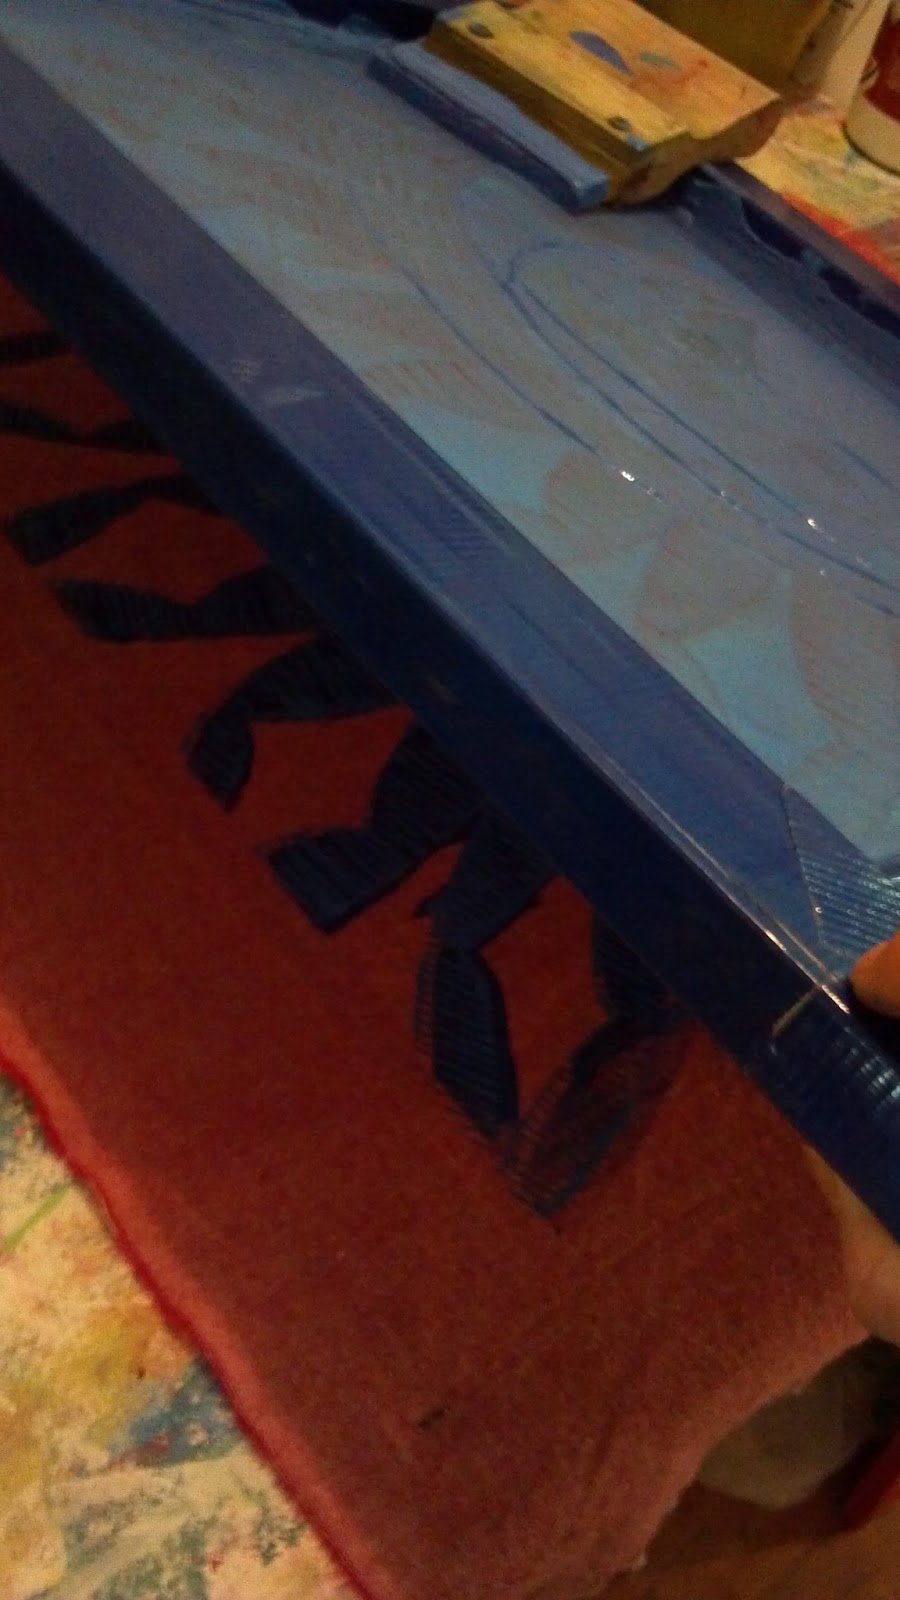
This is the back view of the front of the card.

For this set of cards I have decided all strings
should be on the inside of the card.

I pull the strings to the back carefully with my seam ripper tip
and trim the thread.

This is the first set of note cards I have used with pink thread.

The deckle edge makes it look more natural.


All 5 cards finished.

This has been an enjoyable process for me because 
it uses a variety of mediums and techniques!

Here's a close up of each card...

The starfish is a soft pink on this card.


I love how the watercolors make the print really pop!

Love the color combination on this one.

Can you see where I left a portion of this card without watercolor?
I thought it went well with this color combination.


Orange and pink together -
one of my favorite color combinations.


I love going from printing to painting to sewing - 
truly mixed media.


You can see these and more cards in my shop -


hopping all around my studio on this artist holiday,
hannah


Thursday, April 18, 2013

Aztec Sun Silk Screen

One of the last projects to do in our printmaking class is one and two color silk screening!

I have not done this since high school...
With contact paper!

Now they have drawing fluid and screen filler!


I was not sure what image I wanted to do so who better to ask than my 9 year old daughter-

Her request was an Aztec Sun.

 
2 color silk screen on duck canvas.


This is my screen with the blue drawing fluid.
This is applied with a paint brush.

(Ignore the grayish image - that was from the previous user.
It will not affect my image.)

You want a thick covering, so when you cover it with
screen filler it will not go through.


This is my screen ready to print.

I allowed the drawing fluid to dry and then I applied
the screen filler (burgundy color) and covered the entire screen.

Once that has dried, I rinsed out the drawing fluid and
the screen filler stays.
The screen filler is really hard to get out of the screen.
The screen printing ink will not go through the burgundy areas.


This is my one color silk screen on duck canvas.


I have my first print ready for the second color.

I like to secure my fabric on foam covered plywood with T-pins.

My screen is covered with ink.
My small squeegee is not the proper size 
and you are to only go over the screen twice at the most.

Gotta know the rules to break them.
-Bob Rankin


Lifting the screen.
Again, don't lift on an angle. 
lift the screen straight up.

Love the detail from the second printing.


What to do next with these prints?


Banners, Small art quilts, pillows, t-shirts...


On the sewing machine doing some free-motion quilting.


I hope to make this a pillow!


Big thanks to my high school art teacher Linda Rutenkroger 
for the screen and foam covered plywood and awesome supplies 
from your classroom when you retired
and
JCC and Bill Gregory for instructions/direction and silk screen ink!


bringing all my resources together on this artist holiday,
hannah


Tuesday, April 9, 2013

Handmade Mixed Media Note Cards Part One

I recently reopened my etsy shop - lynndylan designs 
with sets of note cards!

I wanted to share how I create these unique beauties over a few blog postings.


First, I start with a linoleum block.

This is a linoleum block mounted on a piece of wood.

It is my Starfish design.


I first drew the image with pencil on the block 
then carved it out using the small v-tip carver shown here.


This linoleum block is 2 x 3 inches.

Now that I have carved my block I am ready for printing the image.


I am using oil based printmaking ink.

I was not sure about using oil based inks in the beginning 
(I was thinking it would be smelly like oil paints but it isn't that bad
and wow the results!)

I have also realized water based printmaking inks are not as fluid and dry very quickly.

And most importantly, I would not be able to add watercolor paints later to my prints!


My third small block was a doodle I created with 
2 snails!


This is the same snail block with orange oil based ink ready for printing.


This photo shows where I have printed the
3 block variations in rows.


This process is much easier than already having little papers cuts for each print.


I simply ink the block with a brayer of ink and place it onto the paper.

Give it a gentle push all around the block to obtain the entire print.


These were my first small blocks;

Starfish, Abstract Design (what do you see?), and Twice Snails.

Then after a chat with my friend Tanya - Manila Extract, she was curious to see a Bonsai Tree block.

Remember my Bonsai Tree post?


Bonsai Tree Block I carved on a linoleum wood mounted block.

This was the quickest idea to image I have had yet.
Guess doing all those sketches last year really helped me capture the image.


This is a beautiful blue color oil based ink I first printed it with, along with my other blocks.


The pattern repetition is quite nice to see as I ink and print each time until the page is full.


Doing the Bonsai Tree block is a little different because the bottom is positive space
and it is quite easy to get off line.

I try not to worry about it too much and just enjoy the process.


After I have completed all the printing and allowed adequate dry time-
I am ready to cut each print out.

But...

I do not use scissors on this paper...

I use a ruler and "deckle" the edges.

Deckle is where you press a metal straight edge, such as a ruler and rip the paper along the metal's edge.

I have always enjoyed the finish it gives the paper and I believe it just simply looks better than cutting it precise.

However, on some prints I have used thicker paper and cutting with scissors was best for that material.

You just have to do what looks best with your materials!


Stop by my Etsy Shop -


sharing my new favorite materials and processes on this artist holiday,
hannah