Hannah Overman Koch

Sunday, September 21, 2014

An Art Teacher's Dream Classroom


An art teacher dreams of...


A large, clean and crisp space for creativity,

counter space to place tons and tons of student work,

plenty of bulletin board space to add important art terms and show student work,

many, many shelves

to color coordinate all the paper,

cabinet space to house all the different style brushes,

and inspire me to keep picking up a brush myself,

as well as remembering all the work these brushes have already done,

to these brushes and all the work they are going to do!


A bulletin board near the entrance of my room 
to continually inspire students by what I make!

More supplies...

Tempera Cakes

Cut sponges

Drying Racks

Colorful scissors 

Hundreds of erasers

Soy crayons - LOVE the color selections!
And it doesn't leave a residue like the other wax ones.

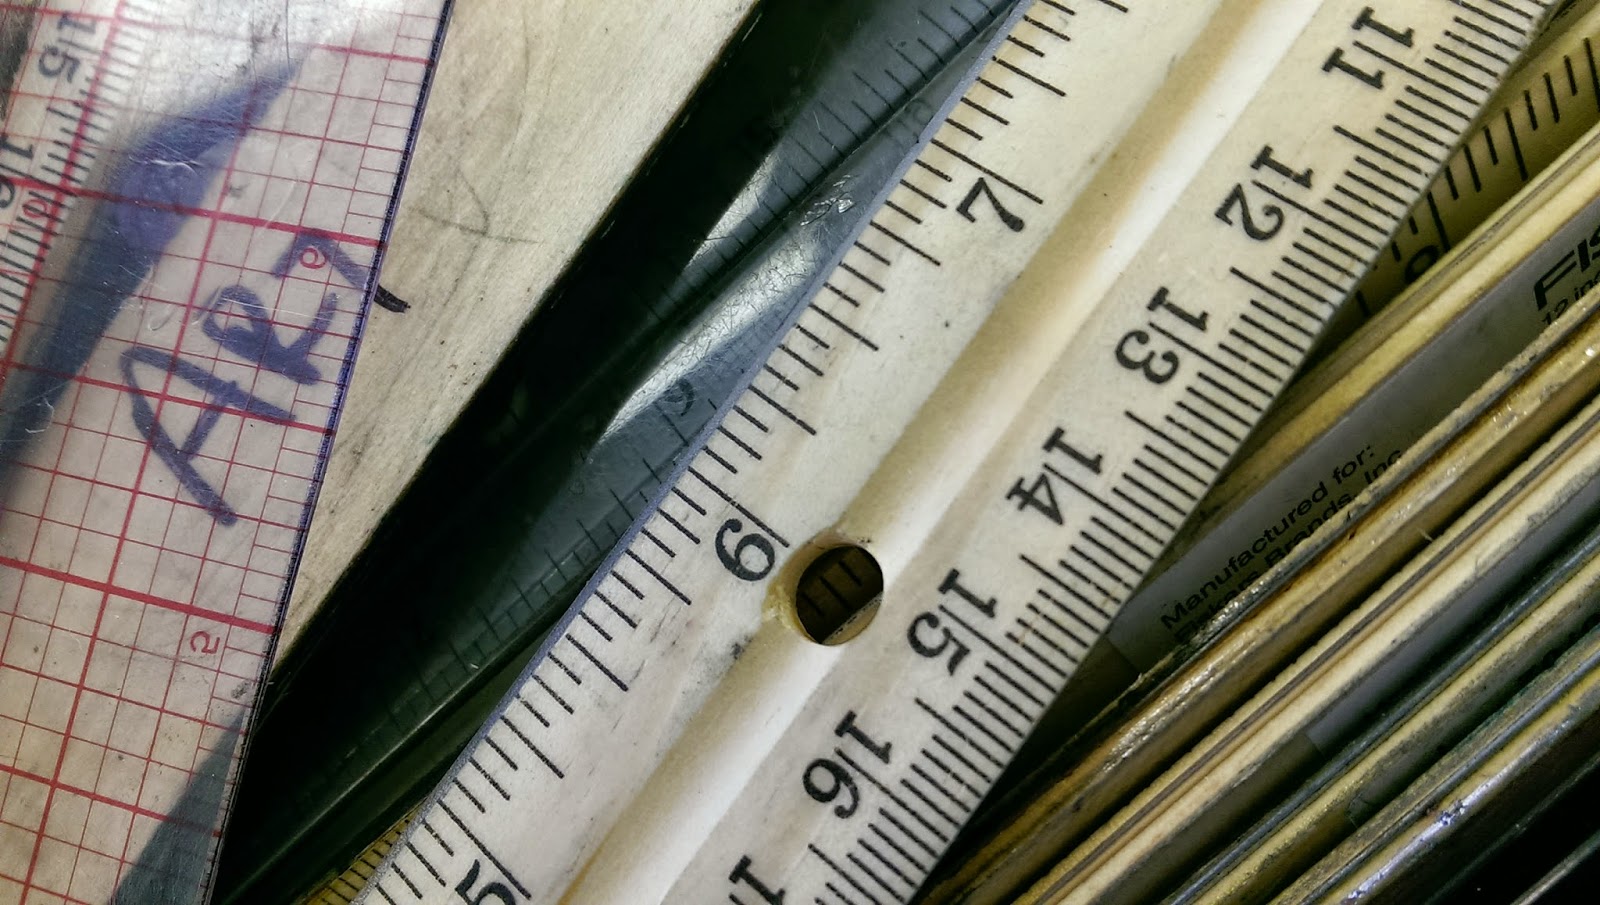
Rulers... just in case!

Textbooks with great references and interesting information for art!


My first day of school

Photo: My first bulletin board in my art room all done!  I wanted it to be inviting and spark the imaginations of my kids as they walked in.  A big thanks to my new co-worker and fast friend - Susan Saunders!!!  Susan helped me paint it all up!  It was a wonderfully creative afternoon!

And my first bulletin board I made with help from Susan Saunders, my friend and technology teacher.

Thanks Susan!!

This is the first bulletin board the students see when they walk in my room.


Now that everything is clean...
lets gets colorful... shall we?


Still pinching myself this is real and my room is amazing!


loving my new space and everything in it on this artist holiday,
hannah


Monday, July 28, 2014

Birthday Cards


Back in June I printed with a few of my new blocks -
you can read about it here...

Once prints are dried and cut apart they are ready for...

A little dab of watercolor and sewing them to handmade cards..

Here are some finished products-


Birthday Cards

Multicolor Birthday Candles

Some subtle, others vibrant!

The stitch line adds a nice touch.

Flames don't have to always be yellow.


The print is a deep blue-black color which is complimented nicely 
with the lighter shade of blue around the candles.
It's one of my favorites thus far.


Gradation of color always speaks to me.
I try to include it in almost every print.

A variety pack appeals to everyone.

A special birthday card for someone special.


Treasuring the small cuts of a linoleum block that mean so much 
when put into a card on this artist holiday,
hannah


Friday, July 18, 2014

Inspirational Hike


Recently we took a family camping trip to 

Pilot Mountain, North Carolina

Cutie the Camper is set up and ready!!

We love camping so much!
It's our little home away from home we've already taken to 4 states.

But aside from the wonderful time camping,
we also hike, fish, kayak and take in the beautiful sights all around us.

Check out these photos I snapped as we hiked around
Pilot Mountain.

Look back at the first photo and see the mountain in the background.
These next photos were taken there.
It takes about 45 minutes to hike around the entire cap!


All I wanted to do was look up the entire hike!


We caught a beautiful day too.

Lines, repetition and texture.

Angles, curves and layers.

Delicate color.

Worn and aged.

I felt so small standing next to this gray beauty!

My girls taking it in... this says it all.

I could see fragments of lines in the rocks separated from one another.

The bottom of a rock showing the effects of dripping water.

So inspring!!

As any artist would say, they are inspired by nature.
And I am no different.

I am inspired to draw, carve linoleum and paint.
I am inspired to write and journal.
I am inspired to see more than I can take in.
I am inspired to stop and cherish that moment.
I am inspired to share what I see with others.
I am inspired to create.

A campfire with a view...
what more do you need?


Read more about Pilot Mountain, NC -


sharing North Carolina's beauty and beauty that inspires me 
to keep going as an artist on this artist holiday,
hannah


Wednesday, July 16, 2014

A Clay Work-Out


Clay Extruder Work-Out Fun!!

This is the clay extruder in the clay studio at the
Smithfield Recreation and Aquatic Center!

Since I have been coming in the studio I have seen it and
wondered about it, but never really played around with it.

That is until I met my new friend, Marsha!!
She is wonderful, SO knowledgable and even provided the studio
with more templates to use!!

It was under Marsha's guidance that I learned how to operate this
amazing device to get really fantastic shapes ready for my creative touches.

Thanks Marsha!!

Here is the template, nuts and bolts ready to be put together...


This is what it looks like put together and ready for the extruder!

Also, I have wedged and prepared my clay and inserted it at the top of the extruder.

Once I press on the lever really hard....
(this is the work out part)

Clay begins to be pressed through the template!!
This photo was taken underneath the extruder.

Here's the clay coming out further as I continue to press on the handle.

After pressing all I could to get as much clay out as possible...
this is what I created!!!


I was so excited and my mind's wheels were turning 
to figure out what I could make with
this wonderfully shaped piece of clay.

I cut apart the coil into smaller pieces and...

I made short pieces...


I made tall pieces


I added lots of texture!

And lots more texture...


I also drew into the clay!

Maybe a unique flower vase...


I sculpted the edges, using my clay tools in new ways!
This was the piece with the curve in it and I did not want to lose that.
So I flattened the bottom edge to give it a unique foot-like shape.


A work out in the beginning and a delicate touch in the end.


Thank you to the Smithfield Recreation Center for such a wonderful studio
and my friend Marsha!


Seeing more and more possibilities with clay 
incorporating the clay extruder on this artist holiday,
hannah